
Introduction
If you hear a popping noise coming from the waycovers, it’s time to complete the maintenance items in this Guide. The video below gives an overview of the symptom we will resolve.
Video Overview
-
-
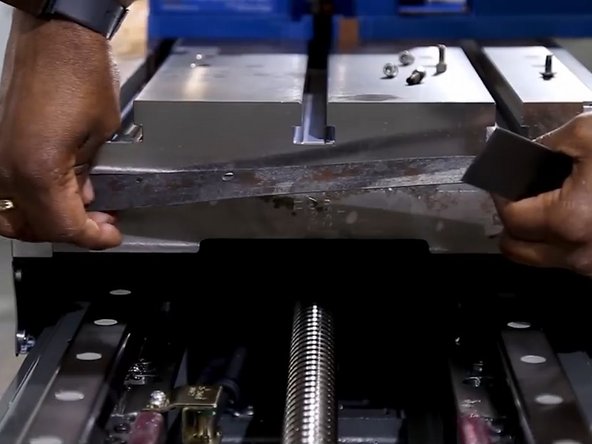
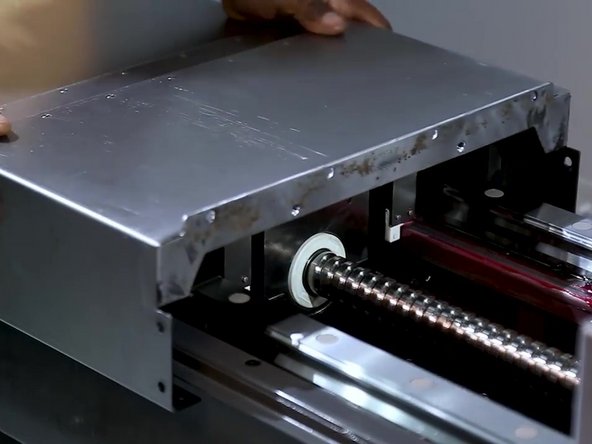
Start by pulling the waycovers back.
-
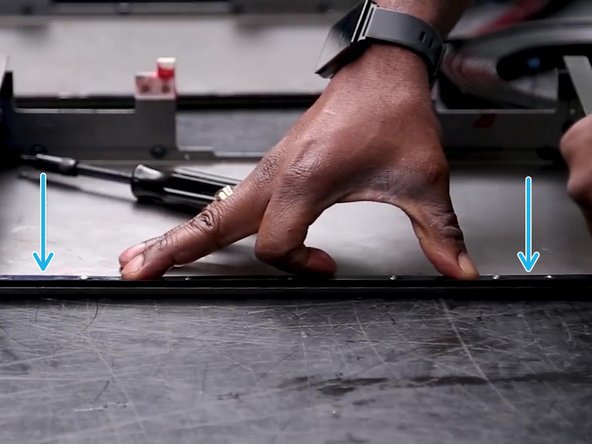
Inspect the rails for loose fasteners by wiggling the rails
-
There should be no play in the rail
-
-
-
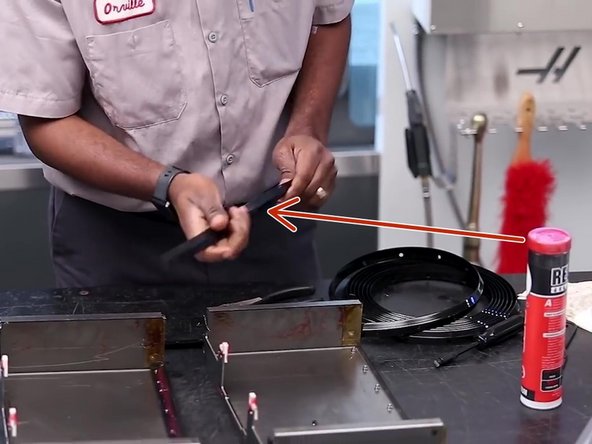
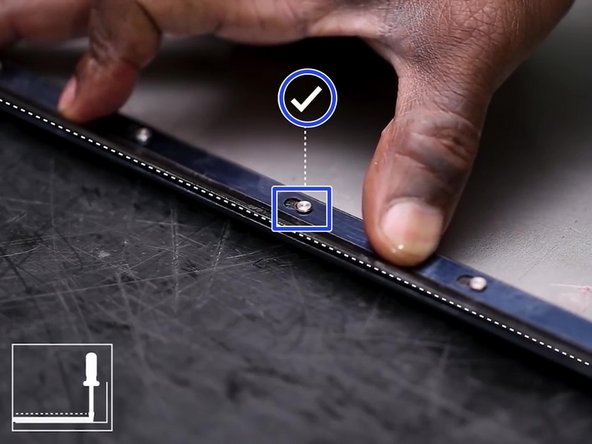
Tighten the fastener bolts using a hex wrench.
-
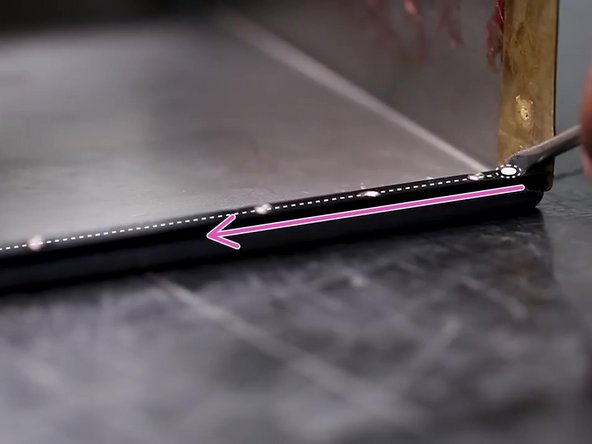
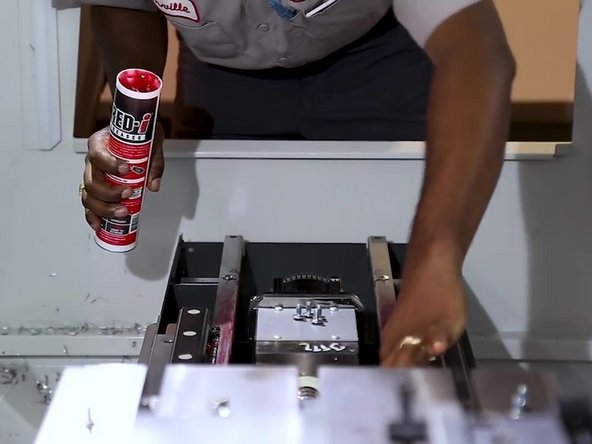
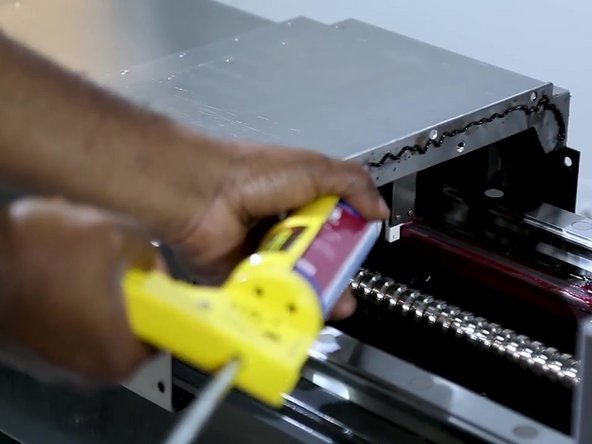
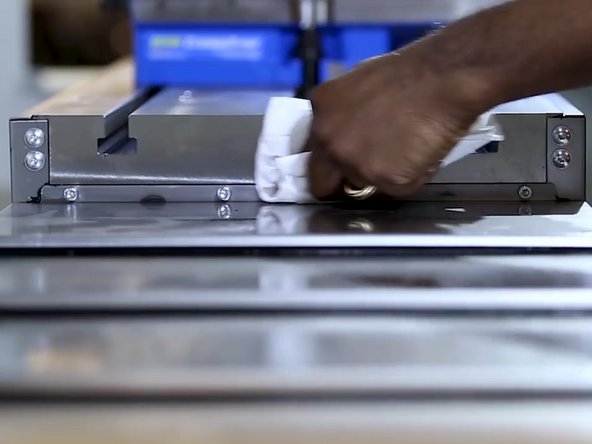
Apply a thin coat of red grease to the guide rails.
-
If the seals and waycovers are in good condition, this concludes the maintenance and should fix the popping noise.
-
If waycovers show any wear, you must complete the remaining steps.
-
-
-
If the waycovers show signs of damage, or the wiper seals are allowing lubricant to leak into the housing, they should be replaced
-
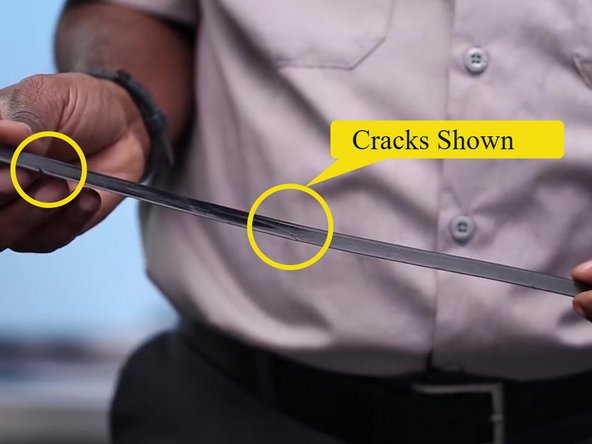
Wipers will often show small cracks as they have reached end of life.
-
-
-
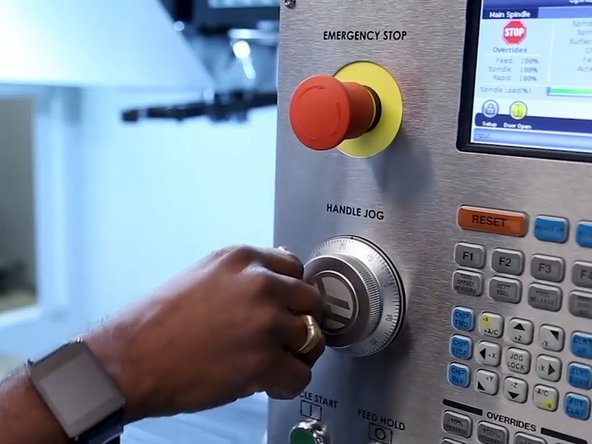
Jog the X-Aaxis to the end of travel by rotating the Handle Jog counter clockwise.
-
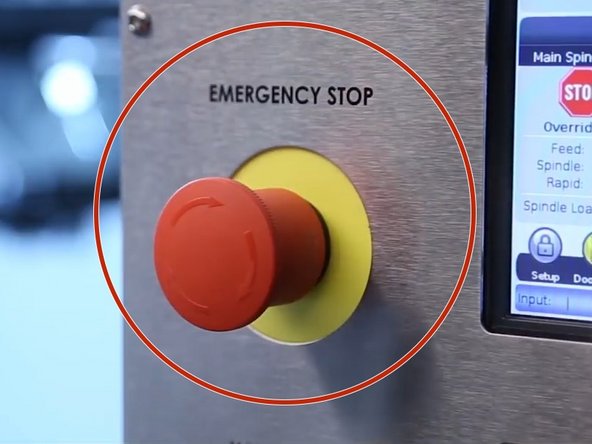
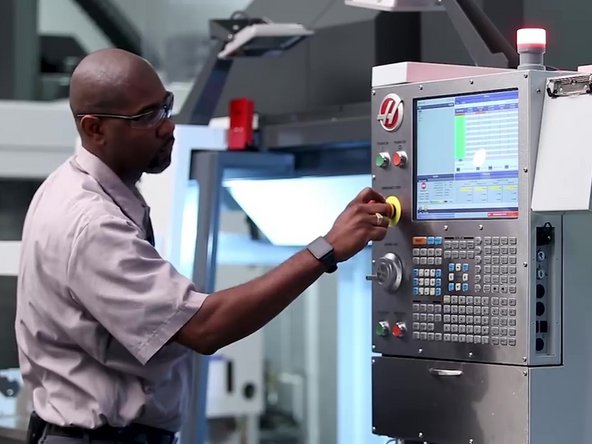
Press the Emergency Stop button.
-
Failure to E-Stop the machine can put operator at risk of electric shock!
-
DO NOT PROCEEED WITHOUT E-STOP
-
-
-
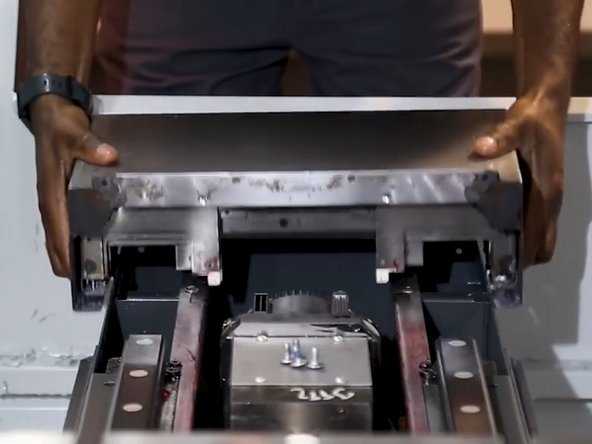
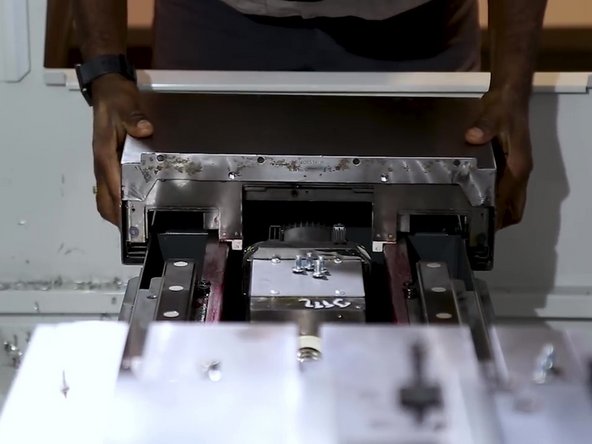
Collapse the waycover and lift it from the end of the guide rail
-
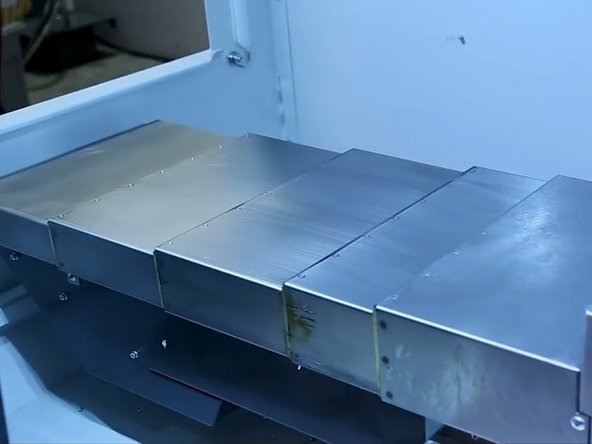
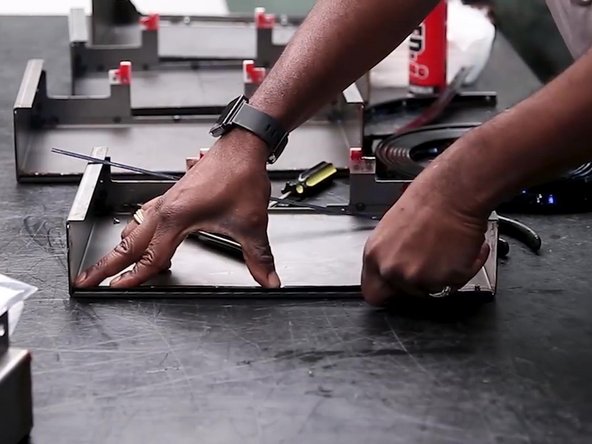
Remove the waycover from the machine and place it upside down on a work surface.
-
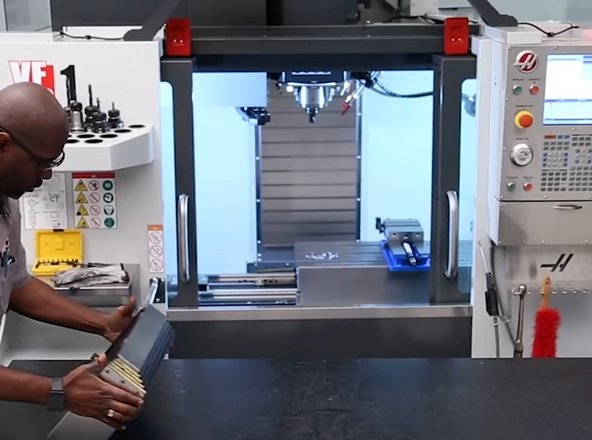
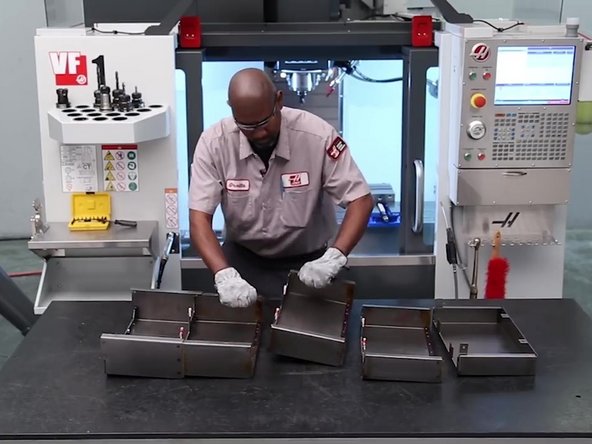
Manually separate each section
-
Sections can be separated by hand simply by lifting up and pulling apart.
-
-
-
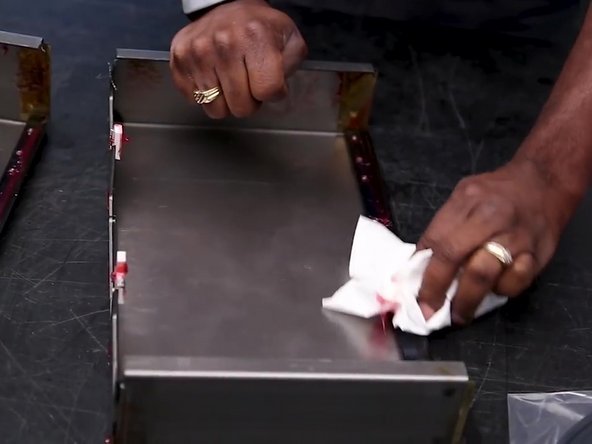
Wipe excess grease from the rubber wiper gaskets.
-
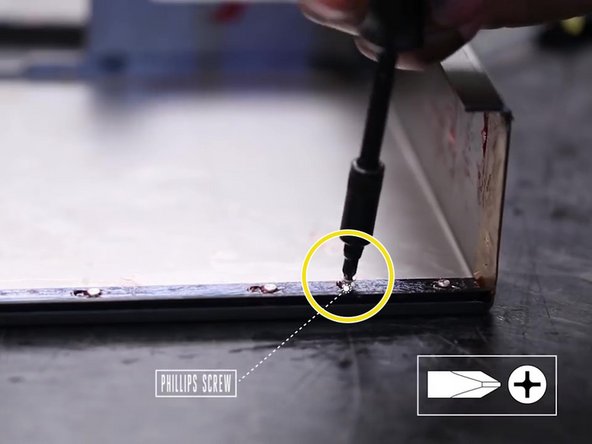
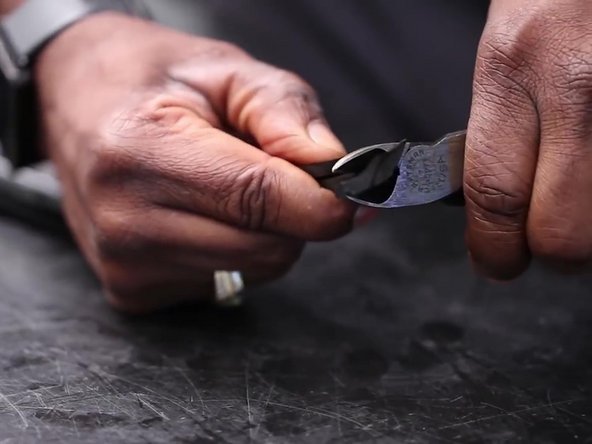
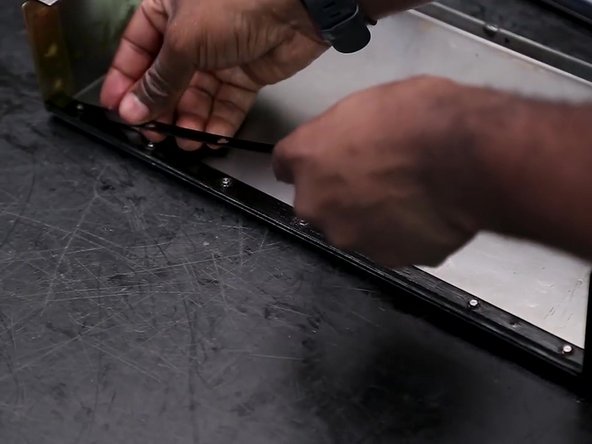
Locate and remove the small philips screw that secures the wiper blade.
-
-
-
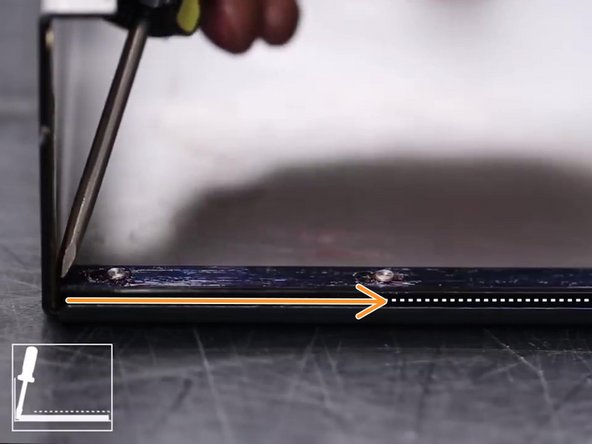
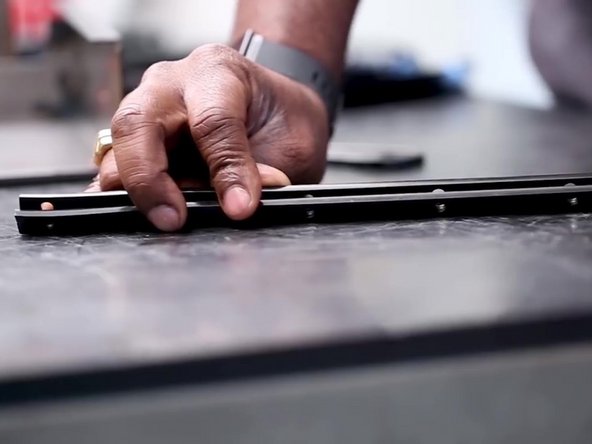
Using a flathead screwdriver slide the retaining strip towards the opposite end of the waycover to disengage from the standoffs.
-
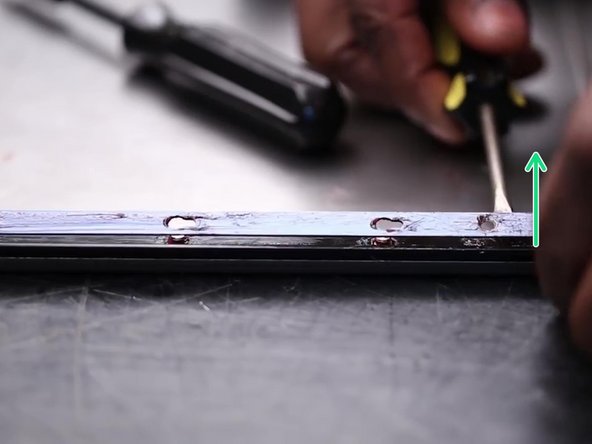
Pry the retaining strip up away from the standoffs.
-
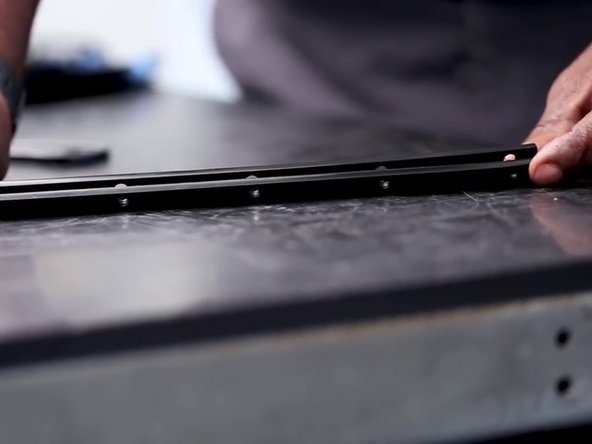
Remove the damaged wiper.
-
-
-
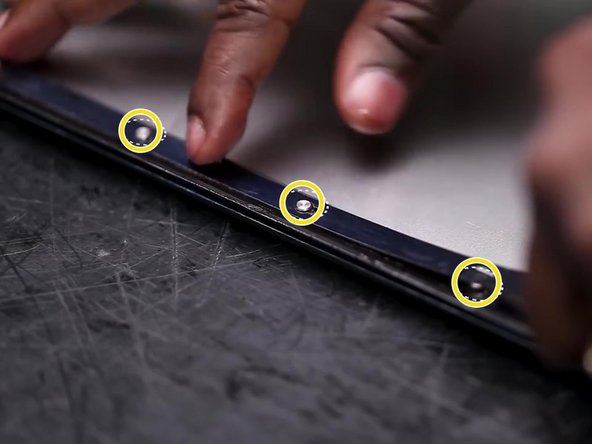
Cut the new wiper to exact length
-
The old wiper can be used as a reference point for length and to make sure holes are aligned.
-
-
-
Prior to installation, clean any remaining grease from the waycover
-
Apply a light coat of red grease to the new wiper.
-
Place the new wiper onto the waycover.
-
-
-
Install the retainer over the top of the wiper.
-
Make sure the retainer captures all of the standoffs.
-
-
-
With one hand, apply downward pressure to the retainer.
-
Use a flathead screwdriver to slide the retainer into the locked position on the standoffs.
-
Verify the standoffs and retainer are locked together.
-
-
-
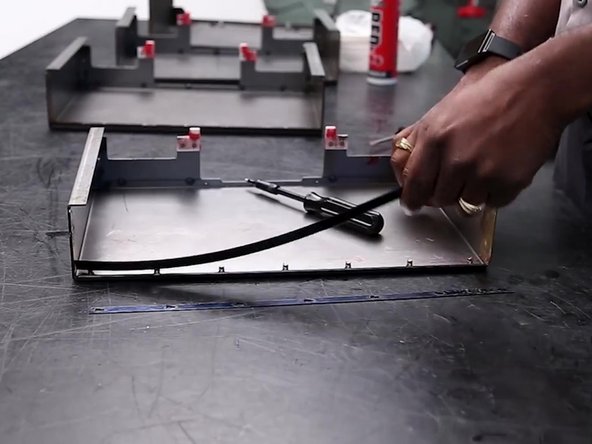
Put the waycover sections back together.
-
-
-
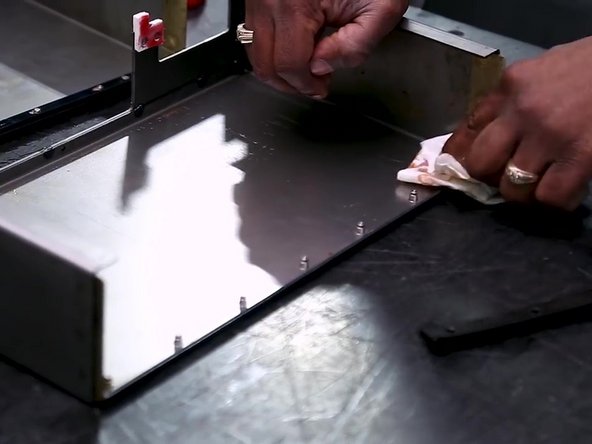
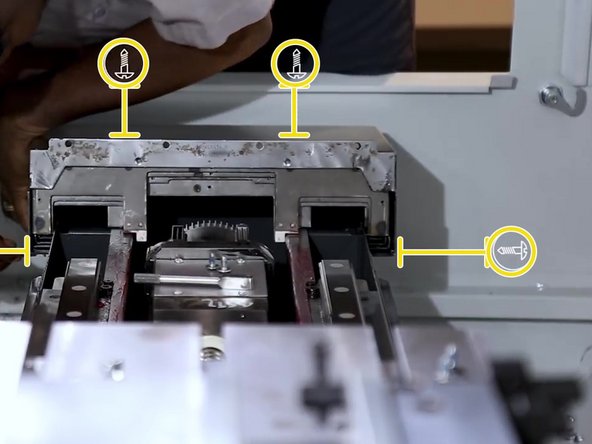
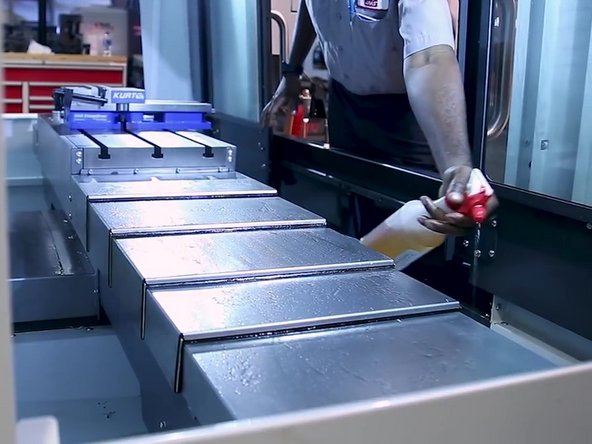
Remove any remaining chips or debris from the linear guides.
-
Remove the used gasket and sealant from the table mounting surface.
-
Apply a thin coat of grease to the waycover guide bars
-
-
-
Install the waycover over the guide bars.
-
Attach the waycover end panel to the waycover bracket with the fasteners.
-
Fully extend the waycover one leaf at a time.
-
Make sure the sections do not separate.
-
-
-
With the largest leaf of the cover away from the table:
-
Put a bead of rtb silicone on the way cover
-
Put the new gasket on the face of the waycover
-
-
-
Extend the waycover to the table
-
Install the fasteners.
-
Wipe away any excess silicone.
-
-
-
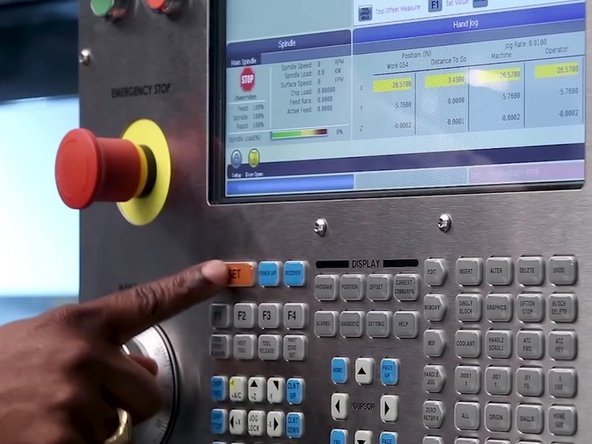
Release the E-Stop by pulling the Emergency Stop button outwards.
-
Press the "Reset" button multiple times until all alarms are cleared.
-
-
-
Apply a light coat of oil to all sections of the e-cover.
-
Manually jog the X-Axis slowly to make sure none of the leafs bind.
-
-
-
Dozuki is purpose built to help you achieve manufacturing excellence. Learn more:
-
-
-
-
-
Get a look into all of the benefits Dozuki offers: Dozuki Features Overview
-


In this Haas Service Video, Service Engineer Orville Collins guides the viewer through replacing the X-axis waycovers on their Haas VMC. Orville shows how to replace the waycover wipers and adds in some tips for keeping your way covers functioning properly over the long haul.
- NOTE: These instructional videos show procedures that should be performed only by trained service technicians. If you don’t have the proper training you could injure yourself or damage your machine.
If you have any additional questions regarding the steps outlined in this video, please contact your local Haas Field Office.

Team
